Netherworld oddities

Saturday, May 16, 2015

A quick look at how to make a Harry Potter mandrake prop.

Here is an inside look at how I make the Harry Potter inspired Mandrake prop.
First, I hand sculpted an original mandrake prop sculpture with polymer clay.  Then I made a handmade silicone mold from the original sculpture. 
Once you have your mold, get it ready for casting.  Gather your materials. 
I use a measuring cup, a mixing bucket and stick and newspapers to protect the floor.  Don't forget to wear gloves! 


I use Smooth cast 300 as my casting resin for these models today.


Following the chemical directions, I measure the amount I will need for each chemical.
pour into mixing bucket.


Mix well, you only have 30 seconds with this product!


pour into mold slow and steady...pat for air bubbles.


Allow resin to dry 10-20 mins.


Then carefully remove cast from mold.

Once removed...this is what you will have. A very rough copy of your mandrake.

I then use a demel tool to refine and carve out the sculpture.
This can get really messy!
Once finished sanding and refining, I spray a couple of layers of white paint primer and allow to dry.

Then into my workspace for painting process. He will need a base coat of a skin color, a brown mixture for the over coat paint. Then paint the eyes and add the roots at the end of the hands with glue and glue on the leaves on top. Put him in his pot and glue him in firmly.
Next step is to apply a clear protective coating. I add a custom distressed tag and sign the bottom.


Here are a few finished mandrakes. The left one is cast from silicone and the right is with the resin as shown in this post.

another picture of the finished mandrakes.


Thursday, March 12, 2015

Process of Creating the conjoined skeleton

Here are a few photos taken during the process of making the conjoined skeleton sculpture.  It is 21 inches tall.
finished armature here, my cat wanted to be included...
 
sculpting... 
finished sculpting
 
This is me when I first started the sculpture at my desk.
 
coating with resin 

Completed Conjoined twin sculpture

Here are a few more photos of the completed sculpture. I will soon add a few photos of the creation process.


Conjoined twin skeletons

I am currently working on this project for a client.  It is the conjoined skeleton of a baby. It is life sized .

I first created a strong wire armature,  the sculpted the polymer clay on top. Painted and coated with resin. I'm almost finished with him!

Tuesday, January 27, 2015

What should I make next???

I always have a few projects that I am working on simultaneously and a few ideas in the back of my mind for something new and creepy to add to my shop.
What would you like to see in my shop. I'd like to hear from my customers and shop fans.....
let me know if you have an idea of the kind of item that you look for in a curiosity shop.

I am thinking of making a couple of sculptures based on the movie Alien next.

Monday, December 15, 2014

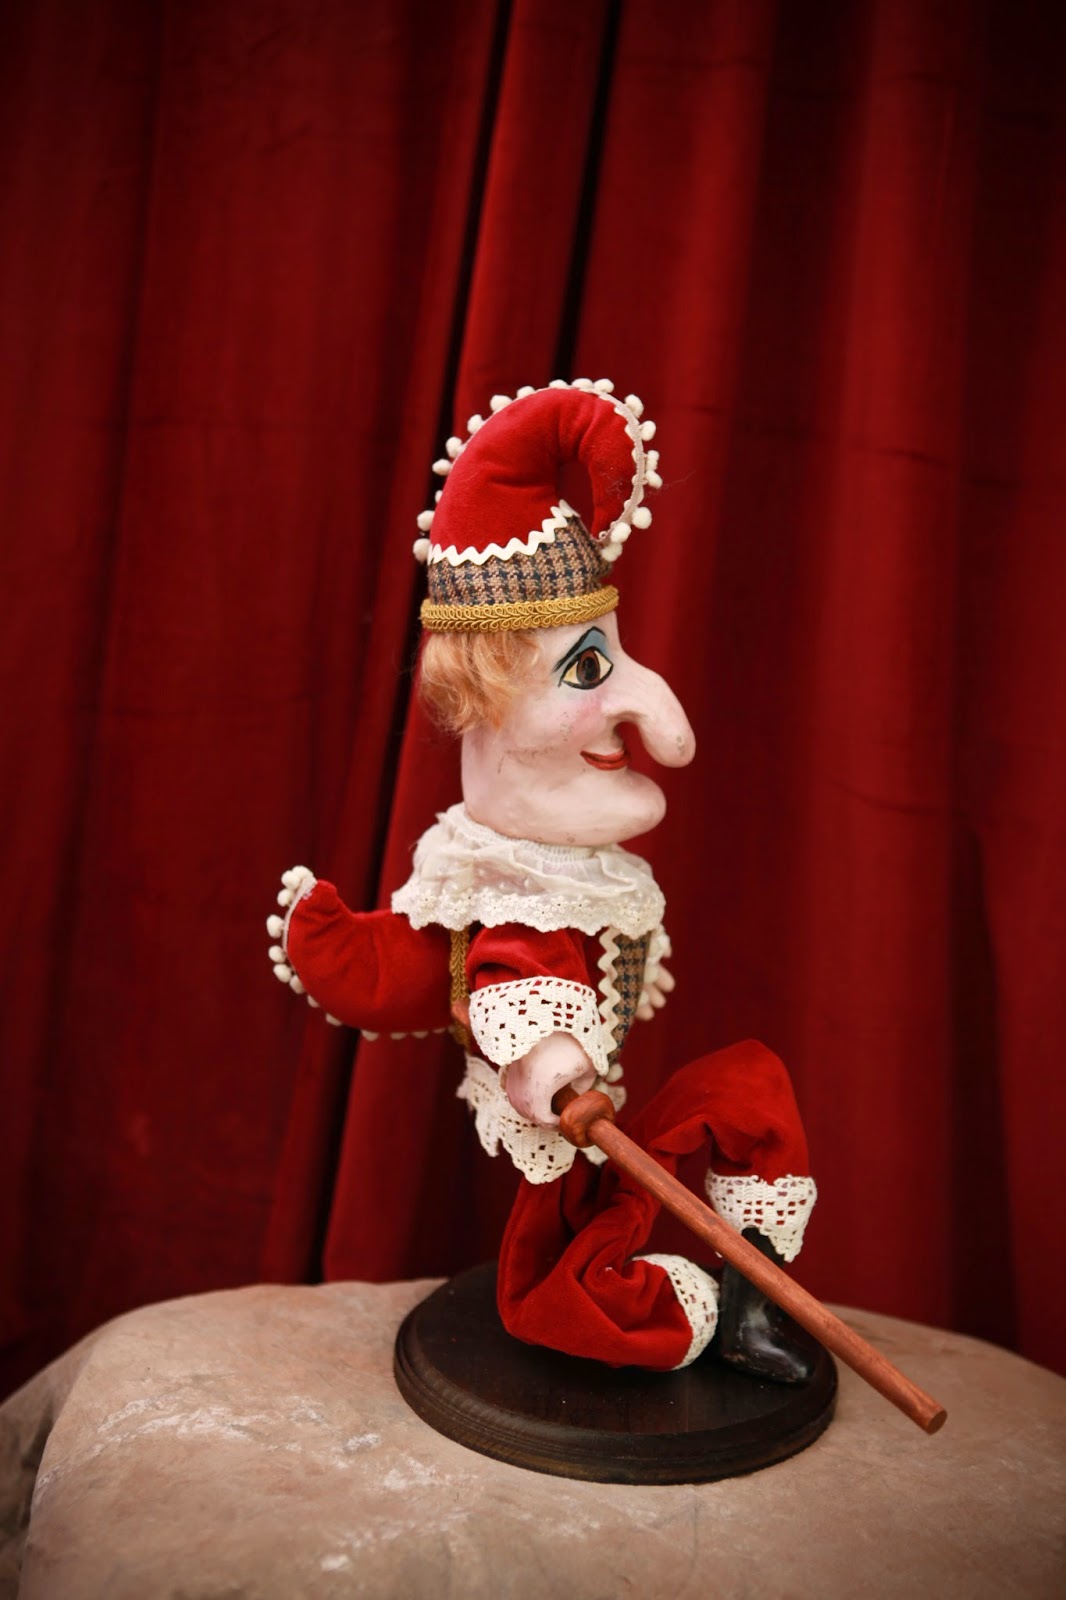
Antique reproduction Punch and Judy puppet dolls- Hand sculpted OOAK

Just for fun I made an antique style Punch and Judy puppet set. They are real working puppets! I sculpted them from Polymer clay and handmade their clothes and bodies with mostly vintage materials. I also made custom wooden stands for display. These are currently up for auction on Ebay. The auction will end this Wednesday at about 11:00am. If you are interested in owning these truly one-of-a-kind puppets, view my auction at:
http://www.ebay.com/itm/171576791752?ssPageName=STRK:MESELX:IT&_trksid=p3984.m1555.l2649